Top videos

Bem vindo ao Learn WordPress. O meu nome é Fellyph e hoje nós iremos abordar como trabalhamos com estilos globais. No vídeo de hoje vamos aprender como escolhemos variações de estilo. Como podemos personalizar a nossa tipografia, personalizar o esquema de cores do nosso site e personalizar blocos individualmente.
---
View this video and others on WordPress.TV: https://wordpress.tv/2022/11/2....1/trabalhando-com-es

This workshop is divided into 3 parts.
In part 2, we will discuss Make WordPress and how the bug tracking system works on the core.
Part 2: Core Trac Overview
Make.WordPress.org introduction
Overview of Trac and Core Trac
What are Ticket keywords?
Ticket Components, Focuses, and Milestones
How to create a Core Trac ticket?
Audience: Contributors
Level: Beginner
Language: BanglaPresentation Slides »
---
View this video and others on WordPress.TV: https://wordpress.tv/2022/10/3....1/getting-started-wi

With Elementor's Dynamic Contact URL, you can connect your website's visitors to WhatsApp, Waze, Google Calendar & more apps with one click.
Get Elementor : https://elementor.com/
Join Pro: https://elementor.com/pro/

Learn how to create Git repository using a remote repository and to deploy files to the web site.
Try Plesk Onyx for free: http://hubs.ly/H04HvFJ0
Documentation and help for Plesk Onyx: http://hubs.ly/H04KJTn0
In this tutorial, we will explain and show you how to create a custom & responsive menu that pops up when the visitor clicks on a button in your website header.
Learn how to create functional yet beautiful menu popups to improve the user experience.
You can download this template from the Elementor template library
Learn More: https://elementor.com/popup-builder/
Get Elementor Pro: https://elementor.com/pro/

Elementor integrations save you time by performing tedious tasks for you.
Now you can easily integrate Elementor forms with MailerLite.
Watch our tutorial & learn how to connect Elementor with MailerLite to automate your workflow.
Get MailerLite: https://www.mailerlite.com/
Get Elementor : https://elementor.com/
Get Elementor Pro form integrations: https://elementor.com/pro/

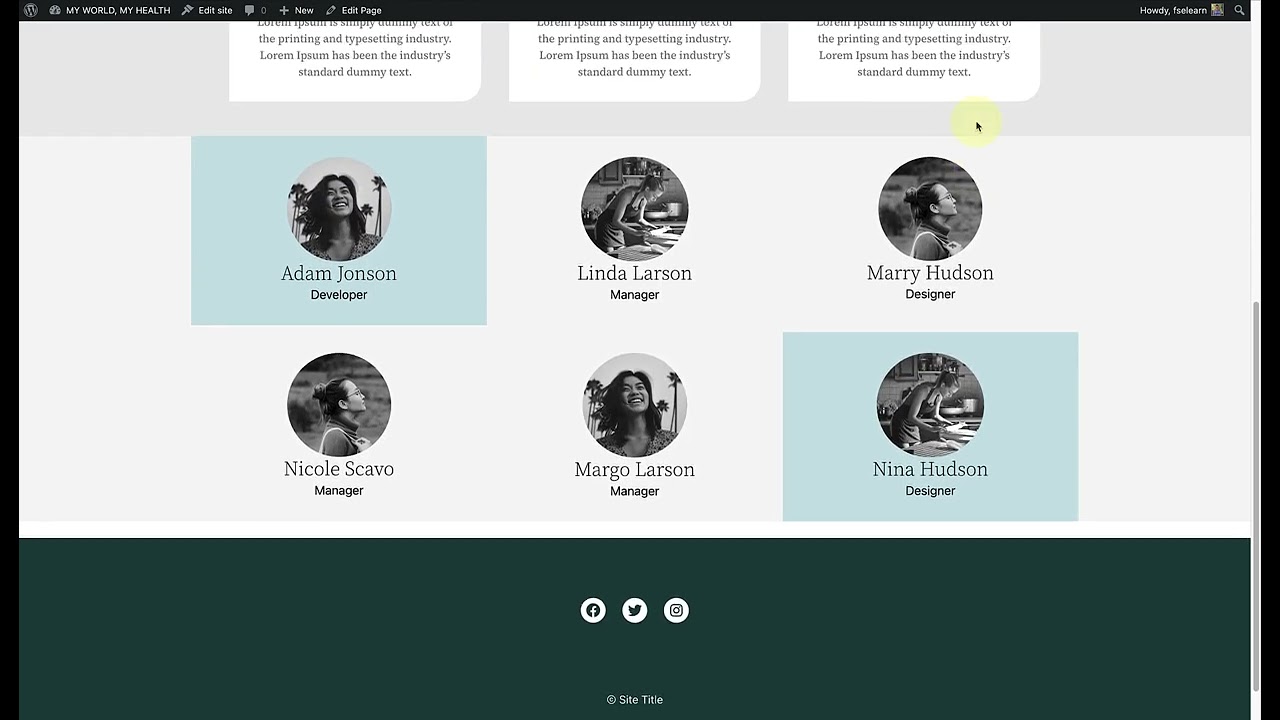
In this Speed Art Series, Elementor's designer David Markus creates beautiful headers & footers using Elementor's Theme Builder.
Learn how to create them yourself and how to customize your design to mobile.
02:32 - Header mobile editing.
07:23 - Footer mobile editing.
Subscribe to our Youtube channel and be the first to get the upcoming videos of our Headers & Footers Series.
Use Dynamic Content, as well as many other features that will help you edit and customize every part of your WordPress website: https://elementor.com/theme-builder/
Get Elementor: https://elementor.com
Join Pro: https://elementor.com/pro/
== Watch the entire header & footer design series ==
Check out chapter #1 - Business Design: https://youtu.be/IWOXJQutKDY
Check out chapter #2 - Building Company: https://youtu.be/_GNPo78YD6A
Check out chapter #3 - Yacht Rental: https://youtu.be/qNa8cODmCfM
Check out chapter #4 - Travel Agency: https://youtu.be/qGSnZOIv5ew
Check out chapter #5 - Photography Website: https://youtu.be/YIUbMc-HPyY

The WordPress REST API provides an interface for applications to interact with your WordPress site by sending and receiving data as JSON (JavaScript Object Notation) objects. By default, it provides REST endpoints (URLs) representing the posts, pages, taxonomies, and other built-in WordPress data types. Your application can send and receive JSON data to these endpoints to query, modify and create content on your site. However, it is also possible to extend the WP REST API, in order to perform specific actions that are outside of the scope of the default routes and endpoints. In this session, you will learn about one of the ways you can extend the WP REST API, by modifying REST responses.Presentation Slides »
---
View this video and others on WordPress.TV: https://wordpress.tv/2023/03/2....4/wp-rest-api-modify

How to create server backup

Learn how to provide in Plesk applications that run in Docker containers.
Try Plesk Onyx for free: http://hubs.ly/H04HvFJ0
Documentation and help: http://hubs.ly/H04KJTn0

Black Friday is upon us, and with it comes great responsibility.
After designing our BF Landing Page, we completed the job with a Popup - using Elementor’s Popup Builder.
We’ve been getting many requests asking to show how this popup was created.
So here it is! A step-by-step tutorial demonstrating how we did it. And to make it even better, we’ve included the images we created here at our studio so you could easily follow along!
In this tutorial you'll learn how to:
✔︎ Use Elementor’s Popup Builder
✔︎ Design with Motion Effects
✔︎ Set up conditions & triggers
✔︎ And more!
Images download:
https://bit.ly/35HQ4l7
https://bit.ly/37Hg5mf
https://bit.ly/2XOWcFv
Check out our Black Friday SALE And get a chance to win AWESOME prizes: https://ele.monster/2QVt261
Don’t forget to subscribe to our channel!
Learn more about using a block theme and how the Site Editor and Template Editor work.
---
View this video and others on WordPress.TV: https://wordpress.tv/2022/11/0....3/intro-to-the-site-

Templates are the WordPress theme files used to render website pages. Getting acquainted with templates is an important step in learning to build themes for WordPress.Presentation Slides »
---
View this video and others on WordPress.TV: https://wordpress.tv/2022/12/1....5/wordpress-theme-te
Learn how to restrict access to a site directory with a password and add authorized users.
Try Plesk Onyx for free: http://hubs.ly/H04HvFJ0
Documentation and help: http://hubs.ly/H04KJTn0

In this tutorial, we will show you how to add a popup to your WooCommerce shop archive page using Elementor's Popup Builder.
You will also learn how to design the category archive pages using Elementor's Theme Builder, as well as using the z-index and more.
Learn More: https://elementor.com/popup-builder/
Get Elementor Pro: https://elementor.com/pro/

All it takes is one click on your dashboard to protect your Plesk Webmail with an SSL/TLS Certificate. For more information, visit: http://hubs.ly/H05Z1X70

How to do mail forwarders

The WordPress REST API provides an interface for applications to interact with your WordPress site by sending and receiving data as JSON (JavaScript Object Notation) objects. It is the foundation of the WordPress Block Editor.
However, it also provides a more predictable and structured way to interact with your site’s content than using admin-ajax. In this session, you will learn how to use the WP REST API in place of using admin-ajax, in order to interact with existing WordPress data.Presentation Slides »
---
View this video and others on WordPress.TV: https://wordpress.tv/2023/02/1....7/using-the-wordpres

Ever wondered what all of the out of the box WordPress roles were and how to use their capabilities across the site? Wonder no more! This is a foundational WordPress discussion where we will talk through the various roles in WordPress and the capabilities each possess.
Target Audience
Beginners, but anyone can benefit!Presentation Slides »
---
View this video and others on WordPress.TV: https://wordpress.tv/2022/10/2....1/wordpress-roles-an

Welcome to WordPress.com! In this video, you’ll learn how to use block patterns to build your WordPress.com website.
Get started with WordPress.com: http://wordpress.com/start
Need more help? Please visit https://wordpress.com/support/
ABOUT WORDPRESS.COM
With more than 15 years powering the open web, we’re here to support your journey: your successes, your learning experiences, and your fabulous ideas coming to life. Wherever you are on that path, we’ve got you covered.
